Showing posts with label decor. Show all posts

8.03.2013

One week to go!

The big day is next Saturday! I can't believe how fast time flies! Our families are starting to arrive, and all the final details are falling into place.

Here are some of the things that will be a part of our special day!

Our "welcome" sign for the ceremony:


I went through a lot of pins before I finally decided on this program.


We also have fans for our guests during the ceremony.


I ordered a 5 pound bag of M&Ms in purple and green, but what arrived was 25 pounds, that's right, TWENTY-FIVE pounds of gold, cream, and pink M&Ms. I called M&Ms and it was easily rectified. My correct order was mailed and received within 5 days.


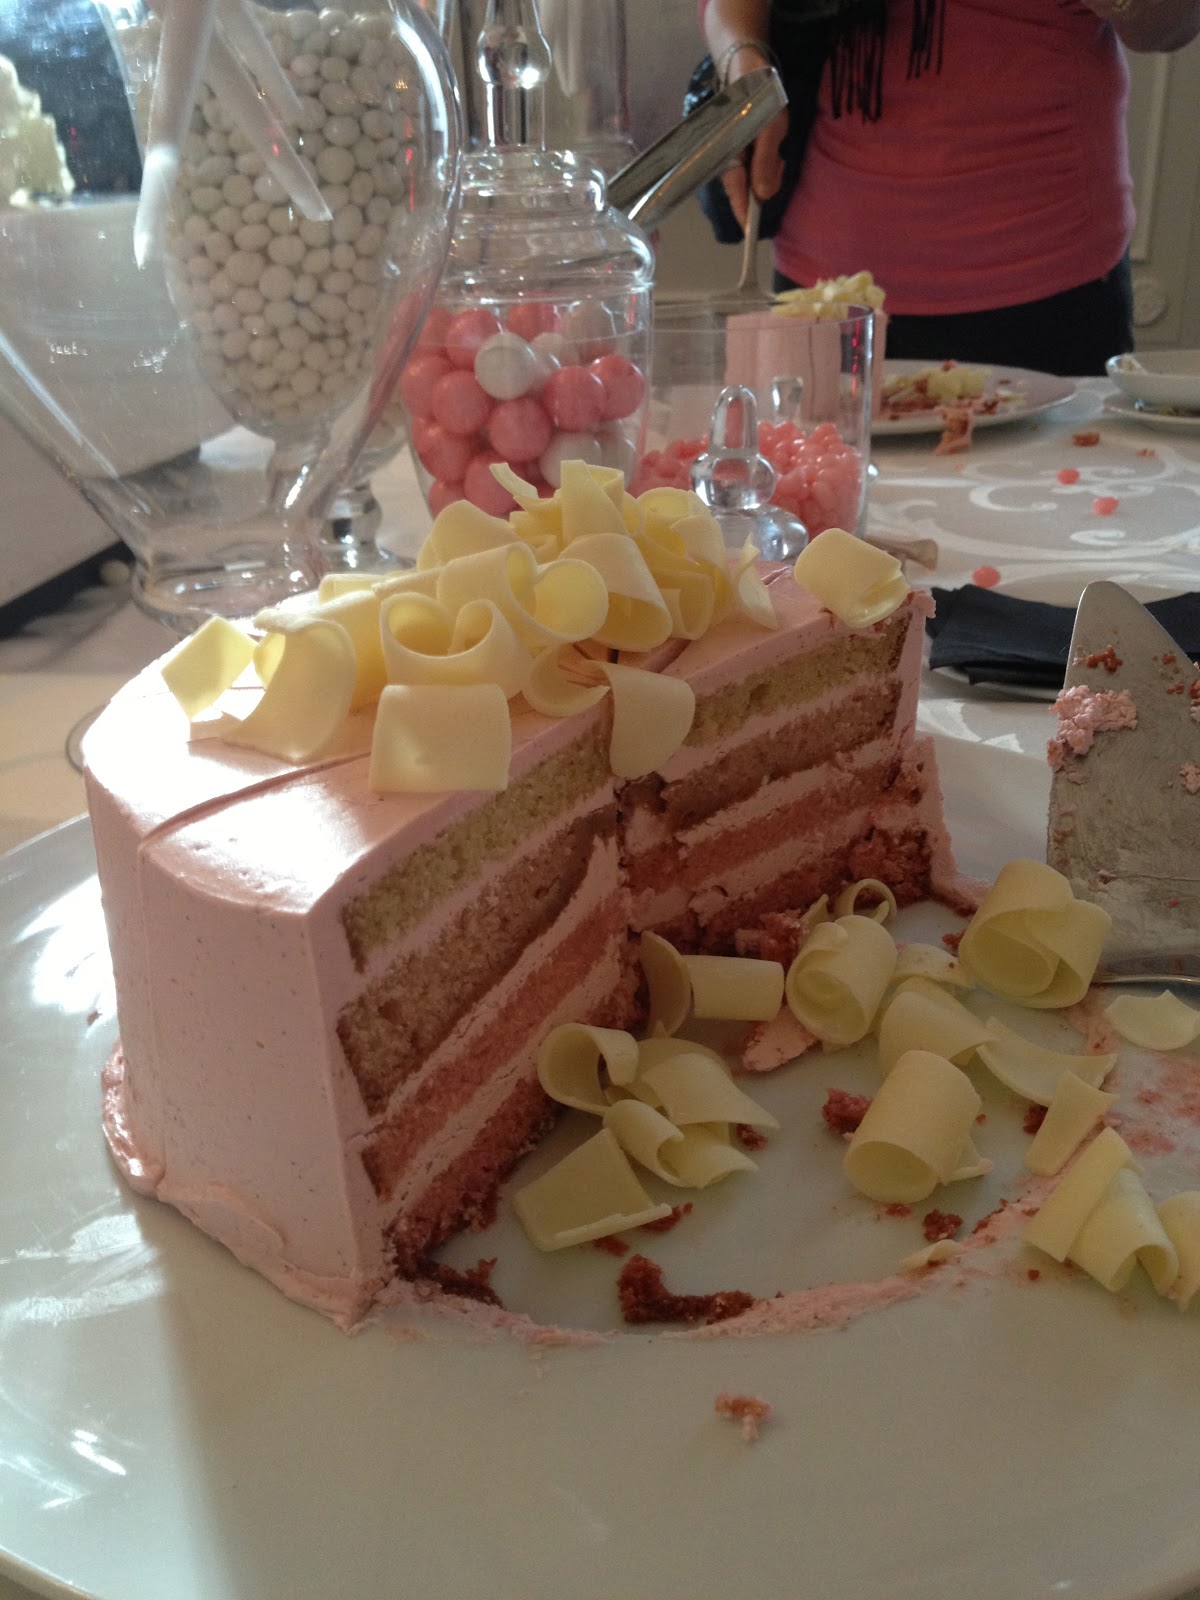
I also bought jelly beans and sour keys from Costco, and macarons from Gourmand Macaron for our dessert bar.

The aisle cones were initially inspired by this pin. I toyed with the idea of using burlap to make the cones, but after talking to experts at the fabric store, I decided it would be easiest to use paper. The instructions for the cones can be found here.


A few months ago, we made these signs for the reception.


Here are our wedding favours! They are 2 oz. jars of honey from a local beekeeper, Mellifera Bees. We got the jars from Michaels, and the honey is flavoured with cardamom and cloves. We had the stickers printed in China when we made our invitations.


We have over 100 twine flowers ready to go. I'm still not sure what they will be used for, but I trust that my day-of coordinator, and decorator will find some use for them.


I have pictures in their frames ready for the mantle at Hillside. We used some pictures from our childhood, and also a couple from our engagement shoot.


I ordered our burlap table runners from Debbie Jordan on Etsy. They are packed, and labeled.


I always knew that we need a hashtag for our wedding. We decided to go with #mcwedding13. I bought a chalkboard to display our hashtag, and while I was researching creative ways to write on the chalkbard, I came cross this amazing post! So of course I had to use the templates provided!


We have our wedding bands, marriage license, dresses, suits, shoes, accessories, and.....I don't even know!

There are so many other things going on in my head, that I can barely keep track. I just keep looking over my list of things to bring and hope that I won't forget anything.

We bought a lot of our smaller items, like the honey jars, fans, and paper for the aisle cones, from Michaels. That said, NEVER pay full price at Michaels. Download their app, and there are coupons every week. Also, keep an eye out for their flyers, there are always coupons there too. I was able to find most of our frames and chalkboard from HomeSense.

I taught myself Photoshop, InDesign and Illustrator so I can save some money on the programs. I designed the whole thing, saved it as a PDF, and sent it to a local printer to print. They came out to $1.50 each, with 10 pages.

How do you keep track of everything for your big day?

xoxo
~meesh

6.03.2013

DIY Wedding Signs

I've been collecting DIY ideas on Pinterest for over a year now. It's finally come time to execute some of these ideas. First up - directional signs! I got my inspiration from signs similar to this one on Pinterest:
Source
My mom is a very crafty person. She makes jewelry, dolls, pictures out of pressed flowers. I, however, am not crafty whatsoever. I collect ideas and ask her to make them for me. Unfortunately, she's been out of town, so I've been left to my own devices. Luckily Chris' sister is artistic, so I got some help from her.

We started off by getting some wood from Michael's. They were about 2' x 5". The original plan was to paint the writing on the wood. But we were at the Penticton Farmer's Market and saw a vendor selling signs with etched writing. We decided to do the same. Off we went to Wal-Mart, and we got some wood stain, and a wood burner. Chris' dad trimmed the wood pieces for us so they are like arrows. Chris' sister wrote on the signs with a pencil (I have terrible writing), and I got to work burning the wood.

Here is the finished product! The top sign only has one coat of stain, the others have 2 coats.


I took my time so I got the depth and width I wanted for each letter, but it was definitely worth it!. The wood was about $2.00 each, the burner was $15, and the stain was $7. We still have lots of stain left for other projects. If you're interested in the signs, shoot me an email! We would love to start a business doing this!

What are some of your DIY projects for your wedding?

xoxo
~meesh

1.29.2013

Engage Wedding Show at The Vancouver Club

I was lucky enough to get free tickets to go to Engage, The Bridal Show, at The Vancouver Club on Jan. 20th. It was the best wedding show I have ever been to. Upon entry, we were greeted by flowers, particularly orchids, EVERYWHERE! I had never seen so many orchid arrangements!


After browsing the florists in the main lobby, we headed to the fashion show right away. The show was hosted by Blush Bridal in West Vancouver. I didn't get very good pictures with my little camera phone. Here is a picture from Blush's Facebook page.
Source
Sweet Pea Photography has almost 100 pictures of the show on their Facebook page! You have to check it out! It was hard to pick just one that I loved, but I definitely like the sheer, sparkly top of this dress:
Source
I'm still looking for a dress for the reception. I was just going to buy a white dress from wherever, maybe from BCBG or something, but I decided I should go shopping for a short wedding dress after seeing this one.
Source
The dress is just so adorable!! AAAH

Okay, moving on. We went upstairs to the Grand Ballroom where we were greeted by some lovely caviar and champagne. Check out this ice bar. There are orchids IN the ice!


We then moved on to see what the various vendors had prepared. I couldn't get over how elaborate all the flower arrangements were.
Check out these gorgeous cakes by Anna Elizabeth Cakes! The flowers are all made of sugar!


Here's the AMAZING dessert bar! Everything was pink! I love it! There were cakes by Ganache Patisserie, Anna Elizabeth Cakes, Beta 5 Chocolates, cotton candy (clearly), nanaimo bars, pink ombre cake, carrot cake cupcakes, and so many others. It was delicious!
 We followed up desserts with a free mini manicure from Luxe Beauty Lounge. Check out the colour I chose: Don't Give a Rotterdam

Lastly, we got our pictures taken by The Collective You. They're kind of like a photo booth, but with a real photographer, and an editor that will touch up your picture right away. They pictures are then printed, and guests can take them as keepsakes, or the guests can write a message to the wedding couple as a sort of guest book. Super cool idea. We took a bunch of pictures, but only this one was printed. I really would love to see the "outtakes".


All in all, I had a blast at this show. I think we ended up spending 3 hours here. I've never spent 3 hours at a wedding show before. If you get a chance to go next year, DO IT!

1.15.2013

The Bridal Swap is back!! April 7th, 2013 - Roundhouse Community Centre

DreamGroup Productions' Bridal Swap is back! DreamGroup is more famously known for their Brock House Wedding Show. I went to the show this year, and must say, out of all the bridal shows I've been to, Brock House was the best!

Anyway, the Bridal Swap is for past brides to sell their gently used decor, such as, linens, vases, mirrors, anything you can think of, to future brides. This is a great opportunity to make some money (for past brides), and to save some money (for future brides).

There is also an opportunity to consign your wedding dress! Dresses are all less than $800! This is awesome for budget brides.

Small tables at the booth are $25.00, and large tables are $50.00.

There will also be a small group of professional vendors available to answer any questions you may have.

For more information, check out the website.
Be sure to like their Facebook page and follow them on Twitter!

11.19.2012

Twine Flowers - Wedding Decor!

I made a list of DIY project that I want to do for our wedding. One of these things were twine flowers that I had found on Pinterest (Follow Me!). They were cute, rustic, and looked relatively simple to make. There was one thing that held me back was that you needed to make your own loom, and after each flower, you had to disassemble the loom and then reassemble it for the next flower.

I felt that this assembly and disassembly was extremely inefficient, so I set out to look for a loom that was meant to make these flowers. It wasn't that difficult to find one. I went to Michaels, and they had a couple versions. I settled on the loom from The Crochet Dude. It cost about $4.00 and I had a 50% off coupon. I bought a couple bundles of embroidery thread in our wedding colours, and off I went.


The loom has 2 notches at the bottom. First, start with a tail of about 15", and then put the thread into the notch. You then start by looping the thread around the peg directly opposite the notch. I like to do it in a figure 8.


Next, you figure 8 the thread around the peg directly opposite the first peg. You can now either loop the thread around the first peg again, or you can move left, and continue until all the pegs are looped. I prefer looping each peg twice before moving on. Depending on how full you want the flower to look, you can go around either 2 or 3 times. To conserve thread, I think 2 loops look pretty good.


Once all the pegs are looped to your liking, you can put that end into the second notch, and then cut the thread with about 2 inches left. This is only so you can hold that end taut while you are backstitching the middle of the flower.

I like to spin the loom around so that the notches are at the top. Thread the 15" end through the needle, and count back 2 petals, go down, and come back up 3 petals later. So back 2, forward 3.

 Continue back stitching until all the petals have been stitched. I like to go around the center twice, or until I have about 2 inches of thread left.
Once the center has been stitched, you can finish it off by weaving the end in and out of the petals to secure, or you can tie the 2 ends together.

Here is the finished flower:
To make a double flower, you simply create the second flower on top of the first, and stitch them both together at the same time. The same concept of 2 back, 3 forward applies when you're backstitching. you would only need one tail end to stitch the flowers together. You can choose to use the end from either flower. Just make sure you leave enough thread to stitch it all together.

Once I got the hang of it, it took me about 10  minutes per flower. It's a great project to do when you're watching TV, when you don't really have to focus on what you're doing. for a small flower like the one I've shown, about 2" in diameter, it used about 2 meters of thread when going around 2 times.

Let me know what you think!

xoxo
Meesh